
Home Inventory Checklist for Insurance: Photos and Records
Start a home inventory with one room. Photograph belongings, save receipts, and back up your records using this simple worksheet.
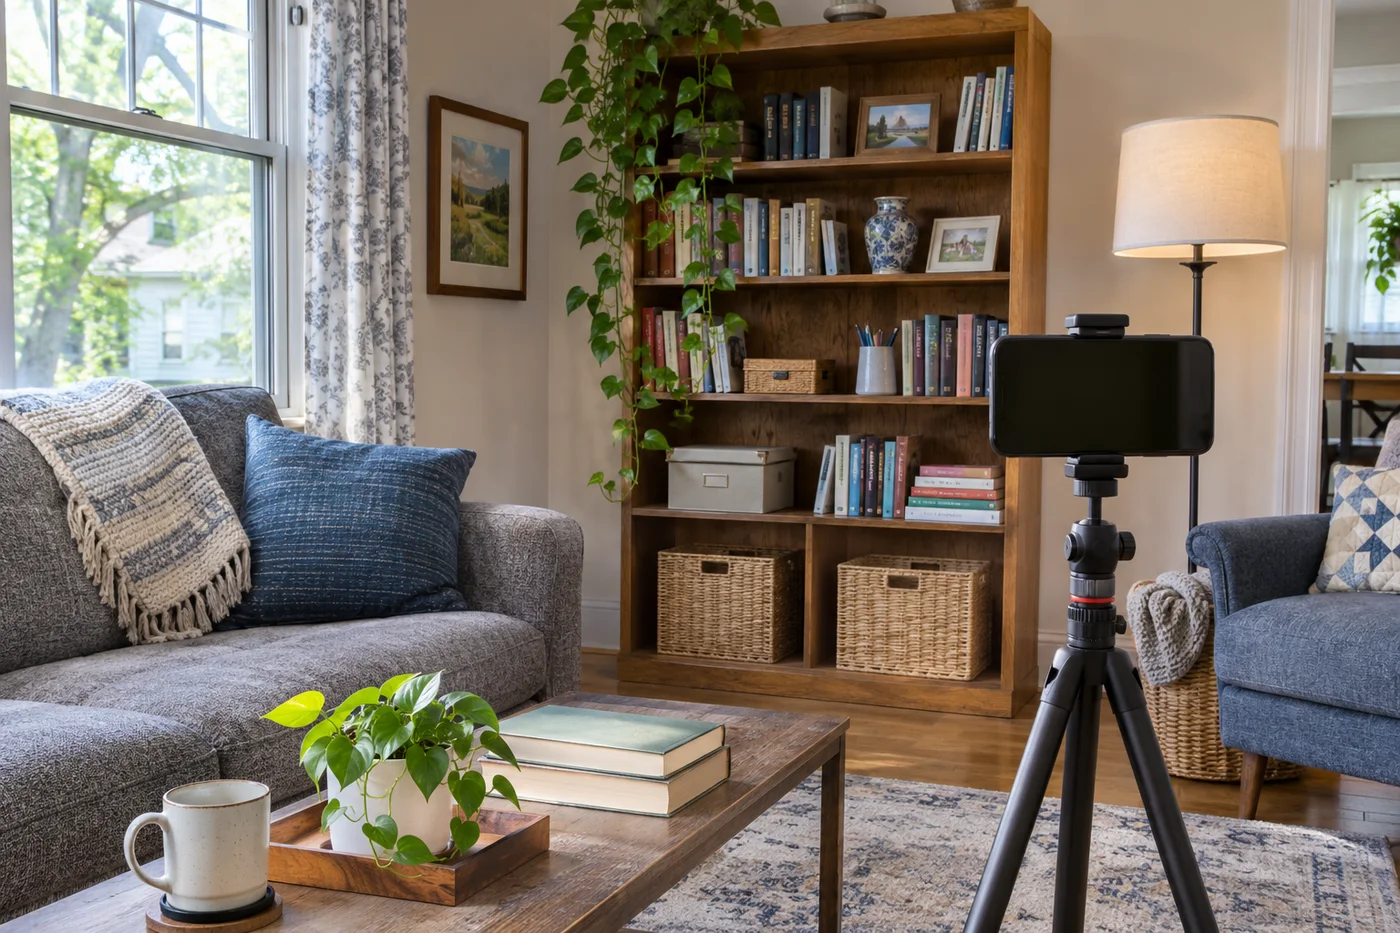
Pick one room and take photos of what you own. Add model numbers, serial numbers and receipts where you have them. Save a private backup somewhere besides your phone, then check that it opens. Keep these records handy for an insurance claim.
The National Association of Insurance Commissioners says an accurate home inventory gives an insurer information that can help settle a claim. Your policy decides what is covered. NAIC home inventory.
Capture the room, then the details
Take a few wide photos to show the room’s contents. Open cupboards and drawers where appropriate. Then photograph individual items whose model, condition, or details would be hard to remember later.
For a television, appliance, or tool, capture the model and serial information where accessible. For other belongings, add a plain description. Don’t move heavy furniture or reach unsafe places just to get a label photo.
Use a file name or note that identifies the room. “Bedroom desk lamp” is easier to find later than a collection of numbered images.
Add receipts where you have them
Attach a receipt, order confirmation, or other available purchase record to the matching item. If you don’t know the purchase date or price, mark it unknown or estimated. Don’t turn a guess into a precise-looking fact.
| Item | Room | Identifying detail | Purchase record | Photo file |
|---|---|---|---|---|
| ___ | ___ | ___ | ___ | ___ |
| ___ | ___ | ___ | ___ | ___ |
For valuable or unusual items, ask your insurer what documentation it would want and whether you need an appraisal or extra coverage, and whether the policy limits what it pays. Get those policy details from your insurer.
Save a copy outside the phone
Save a protected backup you can open from another device. Confirm you can open several files from that backup.
Inventory photos can reveal valuables and the inside of your home. Keep them private. Don’t publish them with a preparedness post or share a folder through a link anyone can open.
Finish one room before expanding
Check that the room’s photos, notes, and purchase records are together. Then schedule the next room. Add new purchases as they arrive, and remove or mark items you sell or give away.
You don’t need an estimated total on day one. For now, finish the room and check that the backup opens. Ask your insurer what is covered and how it decides what an item is worth.
Paper storage: good, better, best
Choose by the job: organizing working copies, protecting small records, or storing a larger set of documents.
We may earn a commission from these links, at no extra cost to you. As an Amazon Associate I earn from qualifying purchases.
Good — working papers
Better — compact rated chest
Best — room for more documents
Sources
Frequently asked questions
- Which purchase records should I save?
- Save receipts, order confirmations and photos you have. Mark estimated prices and dates clearly. Ask your insurer what records it wants for valuable or unusual items.